When you first unpack your KitchenAid tilt-head mixer, it's time to set it up. Find out how to assemble and adjust it ready to create. See the steps...
Your stand mixer is designed to be straightforward to use, so you will quickly become familiar with it and enjoy getting creative. Here are the instructions for setting it up.
How to secure the bowl:Turn OFF (speed '0')Unplug the mixer or disconnect power.Tilt the motor head back.Place bowl on silver metal bowl clamping plate.Turn the bowl gently in a clockwise direction, making sure handle or spout of glass bowls does not touch the back of the mixer base.How to remove the bowl:Turn OFF (speed '0')Unplug the mixer or disconnect power.Tilt motor head back.Turn bowl counterclockwiseHow to attach the accessories (dough hook, paddle or wire whisk):Turn OFF (speed '0')Unplug the mixer or disconnect power.Tilt the motor head back.Slip accessory onto beater shaft and press upward as far as possible.Turn accessory to the right, hooking beater over the pin on the shaft.How to remove the accessories (dough hook, paddle or wire whisk):Turn OFF (speed '0')Unplug the mixer or disconnect power.Tilt motor head back.Press beater upward as far as possible and turn left.Pull beater from beater shaft.How to check the bowl clearance (height):
Your mixer is adjusted at the factory for optimum mixing, with the paddle (flat beater) just clearing the bottom of the bowl. If, for any reason, this hits the bottom of the bowl or is too far away from the bowl, you can correct it quickly.
Turn OFF (speed '0')Unplug the mixer or disconnect power.Tilt motor head back.Turn the screw SLIGHTLY counterclockwise (left) to raise the paddle or clockwise (right) to lower the paddle.Adjust so that the paddle just clears the surface of the bowl. If you over adjust the screw, you may not be able to lock the motor head when it is lowered.
NOTE: When correctly adjusted, the paddle will not strike the bottom or side of the bowl. If the paddle is too low and it strikes the bowl, the coating may wear off the beater, or the wires on the whisk may wear.
Signs that your mixer needs to be adjusted:
Ingredients on the bottom of the bowl are not being incorporated means the beater is too high.
Head not locking into place means the beater is too high.
The white paddle is chipping on the bottom means the beater is too low.
You'll want your KitchenAid mixer to stay as smart as it is when it arrives. Don't worry, it's easy to look after. Here are all the details...
This is how to keep your gleaming KitchenAid mixer looking as good as new for many years to come:
NOTE: Always be sure to unplug the stand mixer before cleaning.
For the mixer: wipe it with a soft, damp cloth. Do not use household/commercial cleaners as doing so can break the enamel finish, which can lead to discolouration. Wipe off the beater shaft frequently, removing any residue that may accumulate. Do not immerse in water.For the accessories: the bowl, splatter guard, stainless steel wire whisk, stainless steel flat beater, stainless steel dough hook, non-stick coated (white) flat beater, flex edge beater, and non-stick coated (white) dough hook may all be washed in a dishwasher. Or, clean them thoroughly in hot sudsy water and rinse completely before drying. (Do not store the whisk on the shaft in between uses).IMPORTANT: Thestandard wire whisk5K452WW is not dishwasher-safe as it has an aluminium head. Clean it thoroughly in hot sudsy water and rinse completely before drying. Do not store wire whip on shaft.
Discover how to get creative with optional attachments on your KitchenAid mixer, using the multipurpose attachment hub. See our advice and steps...
You can take advantage of an exciting range of mixer attachments to explore new culinary possibilities with your KitchenAid mixer. This is how:
Make sure the attachment is compatible with your mixer:
KitchenAid mixers have a universal attachment hub, which is a power hub that the attachments plug into. All attachments that go into the power hub will fit all mixers, regardless of age.
Only exceptions: Our Mixer bowl-lift 6.9L - Professional (5KSM7990X), which is not compatible with all of the attachments. The ice cream maker will not fit on the Mixer tilt-head 3.3L (KSM3311), due to the bowl being too large for the mini base. The compatibility of each accessory will be printed on the box.
How to put the attachment in the mixer's attachment hub:Turn the mixer off (speed '0') and unplug.Remove the attachment hub cover, either by flipping up the cover for mixers with a flip-up cover or by unscrewing on mixers with a removable cover.Insert the attachment shaft housing into the attachment hub.Tighten the mixer attachment hub knob until the attachment is completely secured to the mixer.
Pair text with an image to focus on your chosen product, collection, or blog post. Add details on availability, style, or even provide a review.
Your KitchenAid blender is built to last as long as it is used correctly and kept clean. Find out how to clean the blender each time you use it here...
Our KitchenAid blenders are highly durable. Clean your blender and accessories thoroughly after every use to keep them in the best condition and enjoy them for years to come.
NOTE: To avoid damaging the blender, do not immerse the blender base or cord in water. To avoid scratching the blender, do not use an abrasive cleanser or scouring pads.
You can find guidance on how to clean each blender model in the KitchenAid range below:
To clean the Blender K400 - Artisan
To clean the blender base and cord: Unplug the blender before cleaning. Wipe clean the base and cord with a warm, damp cloth and dry with a soft cloth. Wipe clean the citrus press gear assembly with a warm, damp cloth and dry with a soft cloth.
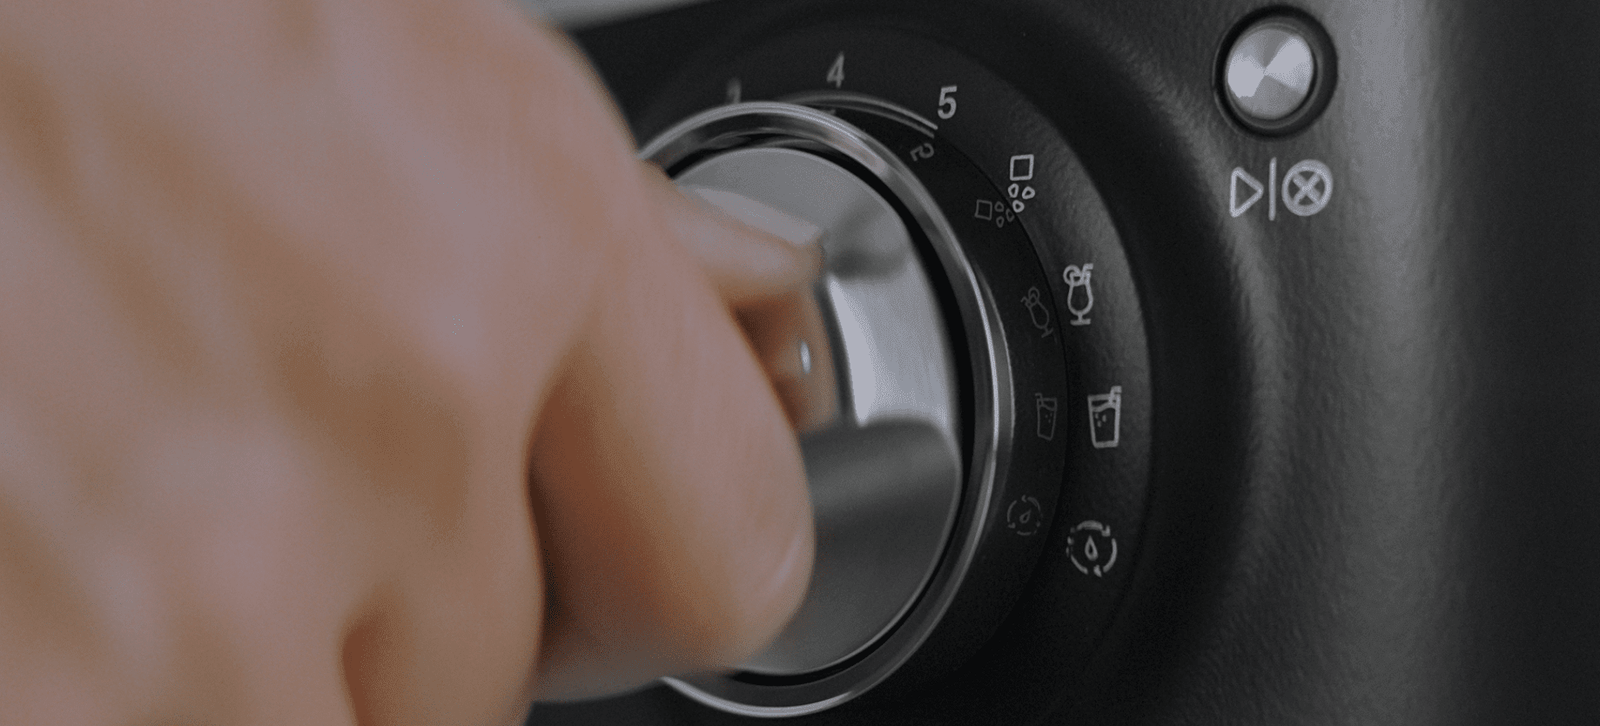
To clean the jar: Remove any remaining contents from the jar. Fill half of the jar with warm water, and add 1 or 2 drops of dishwashing liquid. Place the blender jar on its base. Turn the blender from (O) to the self-cleaning icon (a water droplet). Press start and wait for the cycle to end. Remove the blender jar, empty contents, and rinse with warm water.
To clean in the dishwasher: The accessories (such as the personal jar, small batch jar, lids, blade assembly, lid centre cap, tamper, reamer, pulp basket, juice container) can be cleaned in the top rack of the dishwasher. The blender jar itself can be cleaned in the bottom rack of the dishwasher.
To clean the Blender K150
To clean the blender base and cord: Unplug the blender before cleaning. Wipe clean the base and cord with a warm, damp cloth and dry with a soft cloth. Wipe clean the citrus press gear assembly with a warm, damp cloth and dry with a soft cloth.
To clean the jar: Remove any remaining contents from the jar. Fill half of the jar with warm water, and add 1 or 2 drops of dishwashing liquid. Place the blender jar on its base. Secure the lid on the jar, and then use quick pulses of power and high speeds for 30 seconds. Remove the blender jar, empty contents, and rinse with warm water.
To clean in the dishwasher: The accessories (such as the personal jar, small batch jar, lids, blade assembly, lid centre cap, tamper, reamer, pulp basket, juice container) can be cleaned in the top rack of the dishwasher. The blender jar itself can be cleaned in the bottom rack of the dishwasher.
To clean the Blender High Performance
To clean the jar: Empty the blender jar. Fill half of the jar with warm water and add 1 or 2 drops of dishwashing liquid. Place the lid on the blender jar, and make sure the blender jar is fully in place on the blender base and the use quick pulses of power and high speeds for 30 seconds. Flip the START/STOP toggle switch to stop. When the blade stops spinning, pour out the soapy water, and rinse the blender jar with warm water.
To clean the blender base and cord: Unplug the blender before cleaning. Wipe the base and the cord with a warm, damp cloth and dry with a soft cloth.
To clean in the dishwasher: Dishwasher-safe (top rack only): Lid, tamper, and ingredient-measuring cap. Dishwasher-safe (bottom rack only): Blender jar. Alternatively, you can wash all the parts by hand with a damp cloth and warm soapy water and then rinse with warm water and dry with a soft cloth.
To clean the Blender Power Plus
To clean the blender base and cord: Unplug the blender before cleaning. Wipe the base and the cord with a warm, damp cloth; wipe clean with a damp cloth, and dry with a soft cloth.
To clean the jar: Make sure you clean the blender jar, lid and ingredient-measuring cap after every use. Remove any remaining contents from the blender jar. Fill 1/2 of the jar with warm water and add 1 or 2 drops of liquid detergent. Place the lid on the blender jar, and make sure the blender jar is fully in place on the blender base. Rotate the control dial to the clean program. Flip the (Start/Stop) toggle switch up or down. When the program finishes, pour out the soapy water, and rinse the blender jar with warm water. If any haze remains, clean with a soft cloth or sponge.
To clean in the dishwasher: The blender jar, lid, flex edge tamper, and ingredient-measuring cap are dishwasher-safe; the flex edge tamper, lid, and ingredient-measuring cap should be placed in the top rack of the dishwasher. If you prefer, all parts may also be washed by hand with a damp cloth and warm soapy water, and then rinsed with warm water and dried with a soft cloth.
NOTE: The handle grip can remain on the handle of the blender jar during cleaning and dishwasher cycles. If needed, you can remove the handle grip to run it through the dishwasher separately, and then replace it.
To clean the Blender Diamond
To clean the jar: Fill half of the blender jar with warm water and add 1 or 2 drops of dishwashing liquid. Place the jar on the base and secure the lid with the ingredient cup. Put the lid on the jar, press the '1 Stir' speed setting, and run the Blender for 5 to 10 seconds. Remove the jar and rinse it with warm water.
To clean the blender base and cord: Wipe the base, power cord, and clean the touchpad, lids, and ingredient cup with a warm, damp cloth and dry with a soft cloth.
To clean in the dishwasher: Dishwasher-safe parts: Jar only. The blender jar can be washed in the bottom rack or handwashed with soapy water, rinse, and wiped dry.
You can blend hot liquids in a KitchenAid blender when making soups, sauces and more. Here are our tips for getting the best results...
Blenders are ideal for preparing and making delicious sauces, soups, broths. You can blend hot liquids, but please be take care:
When blending hot liquids or ingredients, the Ingredient-measuring Cap should remain in place over the lid opening. As it's vented, the steam will be able to escape.Always blend hot liquids using the Low speed or Pulse setting and then increase the speed if necessary.Cool hot foods, if possible, before blending.Want hot soup? Discover the Blender Power Plus
If you love nutritious homemade soup, then you'll love our Blender Power Plus. It has a BPA-free Thermal Control Jar with 1.75 L capacity, which keeps heat inside. You can use the special soup function on the blender to heat ingredients into soups and sauces in 5 minutes, thanks to the friction in the jar. Pour your soup or sauce with ease: the outer jar remains cool to the touch, and a venting lid allows you to blend hot liquids without steam buildup. It's safe to pop in the dishwasher.